How to Keep Your Deck Looking Its Best with Regular Sanding and Oiling
If you’ve got a timber deck, you may have wondered about how often to oil your deck. Sunshine Coast weather is tough on decks. There’s the intense sun, salty air, and seasonal rain, all of which wear down protective coatings over time. Even the best timber needs occasional sanding and oiling to stay beautiful and safe.
This guide explains how often to maintain your deck, which products to use, and what to expect before, during, and after the process.
Why Sanding and Oiling Matter
UV and moisture protection
Oils penetrate deep into the timber, replenishing natural resins and preventing cracking, cupping, and water damage.
Restoring natural colour
Sunlight fades timber to a grey, silvery tone. Sanding removes weathered fibres and reveals the warm colour beneath.
Extending deck lifespan
Regular oiling keeps timber flexible, helps prevent rot, and can double your deck’s lifespan compared to untreated surfaces.
How Often Should You Sand and Oil Your Deck?
General guide
- Every 12–18 months in coastal or high-sun areas (like the Sunshine Coast)
- Every 2 years in shaded or sheltered locations
Quick test for when it’s time
Here’s a simple test. Sprinkle water on the surface. If it soaks in rather than beading up, it’s time to re-oil.
Don’t wait too long
How do you know if you’ve waited too long since the last time you looked after your deck? Another simple test: If the deck turns grey or rough to touch, you’ll need to sand it back before oiling. If you delay any further it’s only going to increase labour and costs later.
How to Prepare Your Deck for Sanding and Oiling
1. Clean thoroughly
Remove furniture, sweep debris, and scrub with a deck cleaner or diluted detergent to eliminate mould and dirt. Allow to dry completely before sanding.
2. Inspect for damage
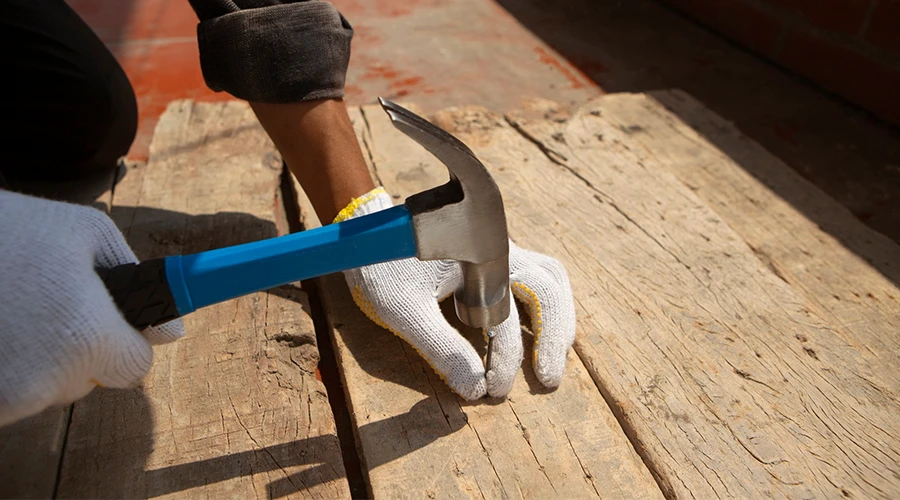
Replace cracked or rotten boards, tighten fixings, and countersink exposed screws.
3. Sand evenly
Use a floor sander or orbital sander with 80-120 grit paper. Always sand along the grain and vacuum dust thoroughly before oiling.
4. Check the forecast
Choose a clear, dry day (ideally 20–30°C). Avoid direct midday sun or rain within 48 hours of application.
How to Choose the Right Decking Oil
Penetrating oils
These soak into timber fibres to provide rich colour and deep weather protection. Ideal for hardwoods like Spotted Gum or Merbau.
Water-based oils
Dry faster, are easier to clean up, and emit fewer fumes. These are perfect for quick weekend projects.
Oil-based finishes
Offer greater water resistance and richer tones, though they take longer to cure and need solvent cleanup.
H3: Clear vs tinted
Tinted oils block more UV, giving longer protection. Clear oils look natural but need reapplication more often.
How to Apply Deck Oil: Step by Step
1. Stir, don’t shake
Mix oil thoroughly to ensure pigment consistency.
2. Apply thin, even coats
Use a lambswool applicator or wide brush, following the timber grain. Avoid thick coats, as two thin layers penetrate better.
3. Allow drying time
Let the first coat soak in for 30–60 minutes, wipe off excess if necessary, then apply the second coat after 12–24 hours.
4. Avoid walking too soon
Wait at least 24–48 hours before replacing furniture or foot traffic to prevent scuffing and marks.
Common Deck Oiling Mistakes to Avoid
Skipping prep
Oiling dirty or damp timber traps moisture and leads to peeling or mould growth.
Over-oiling
Too much product leaves a sticky surface that attracts dirt.
Ignoring edges and joins
Moisture often enters through unsealed ends and gaps, so, always oil edges and between boards.
Using interior oils
Only use products rated for exterior timber: indoor oils lack UV stabilisers.
What to Expect from a Professional Sand & Oil Service
Hiring experienced professionals can save time and ensure a flawless finish, especially for large or weathered decks.
Step 1: Assessment and cleaning
They’ll inspect the deck, clean it, and identify areas that need repair.
Step 2: Mechanical sanding
Professionals use industrial sanders for a uniform surface and minimal dust.
Step 3: Oiling and curing
High-quality oils are applied evenly and allowed to cure under optimal conditions.
Step 4: Post-service care
You’ll receive instructions on maintenance, curing time, and next-coat scheduling.
Maintenance After Oiling
Light cleaning
After each season, wash your deck with mild soap and water and avoid pressure washers that can strip oils.
Spot re-oiling
Touch up high-traffic or sun-exposed areas as needed between full coats.
Regular inspection
Check annually for signs of wear, mildew, or peeling. Your early action will pay off as it will save you tons of effort later.
Key Takeaways
- Sand and oil your deck every 12–18 months in coastal climates.
- Always clean, dry, and sand before re-oiling.
- Choose tinted, exterior-grade oils for longer UV protection.
- Consistent maintenance preserves your deck’s colour, texture, and lifespan.
If you need any advice on deck maintenance, give us a shout at Sunshine Coast Decking. We can come out and talk to you about maintenance plans and just schedule you in for the right amount of attention so your deck is always useable and always looks great.